[ Pynecone ] DALL·E 모델로 이미지를 생성 App 만들기 (Python)
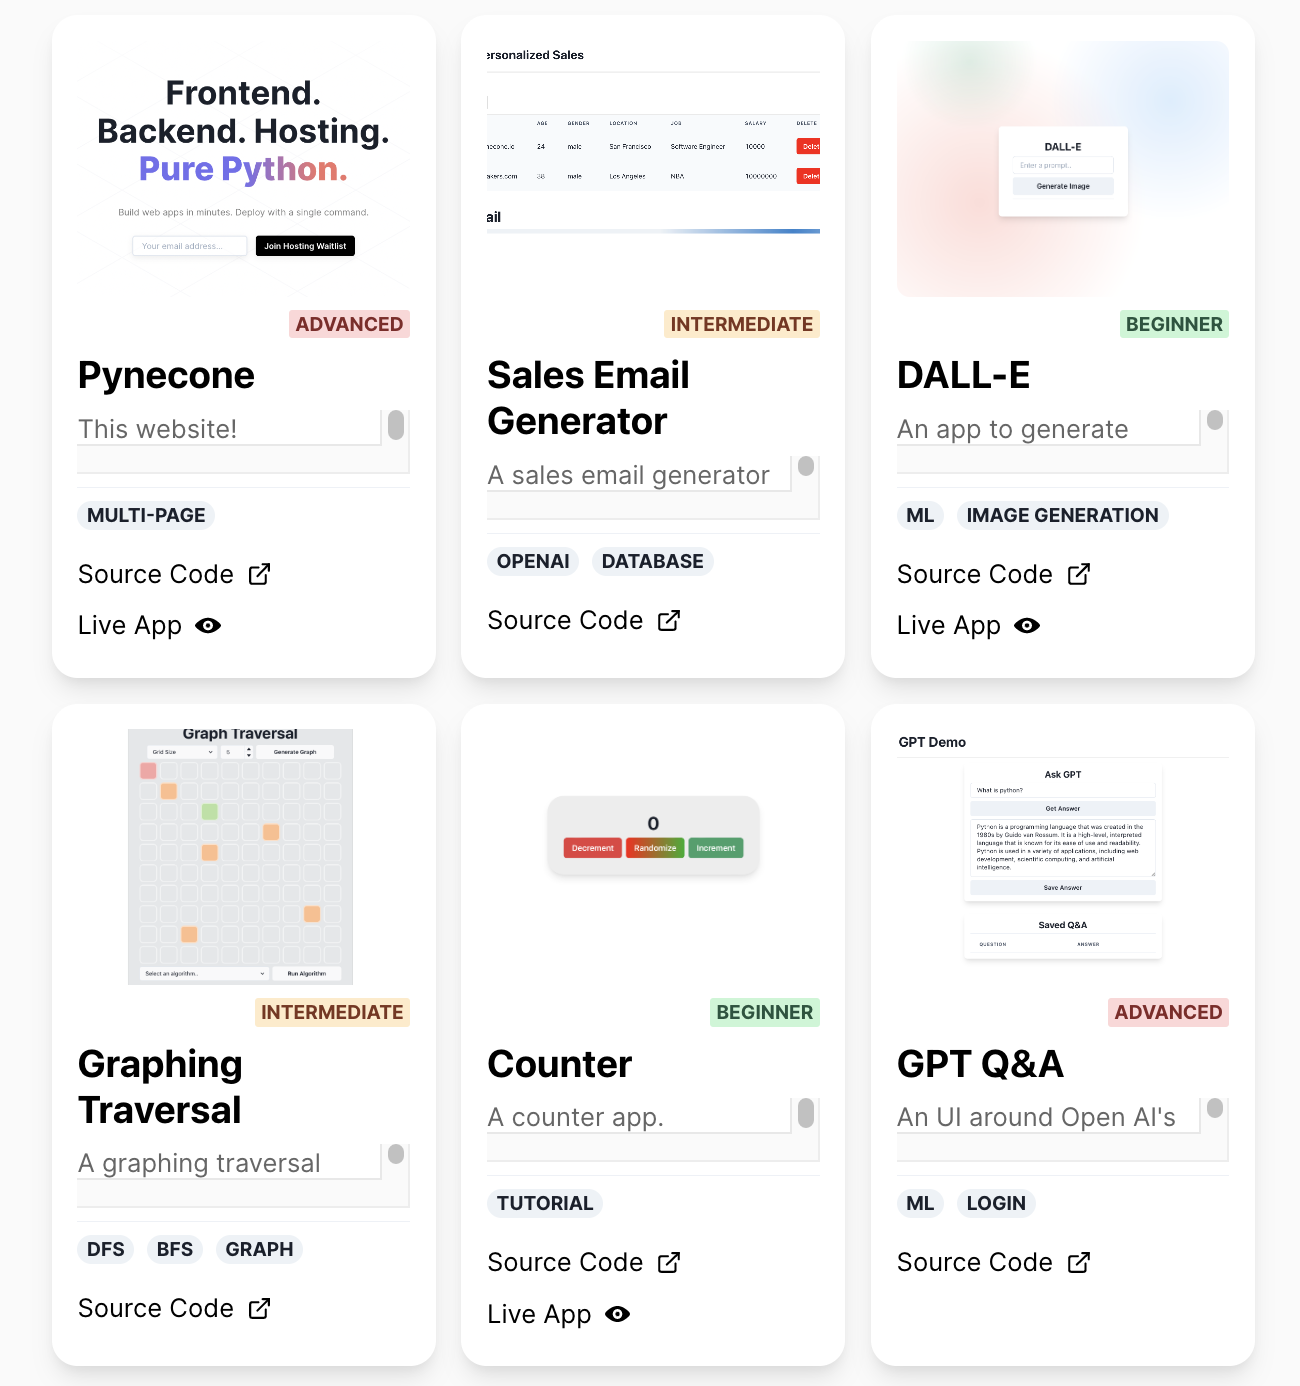
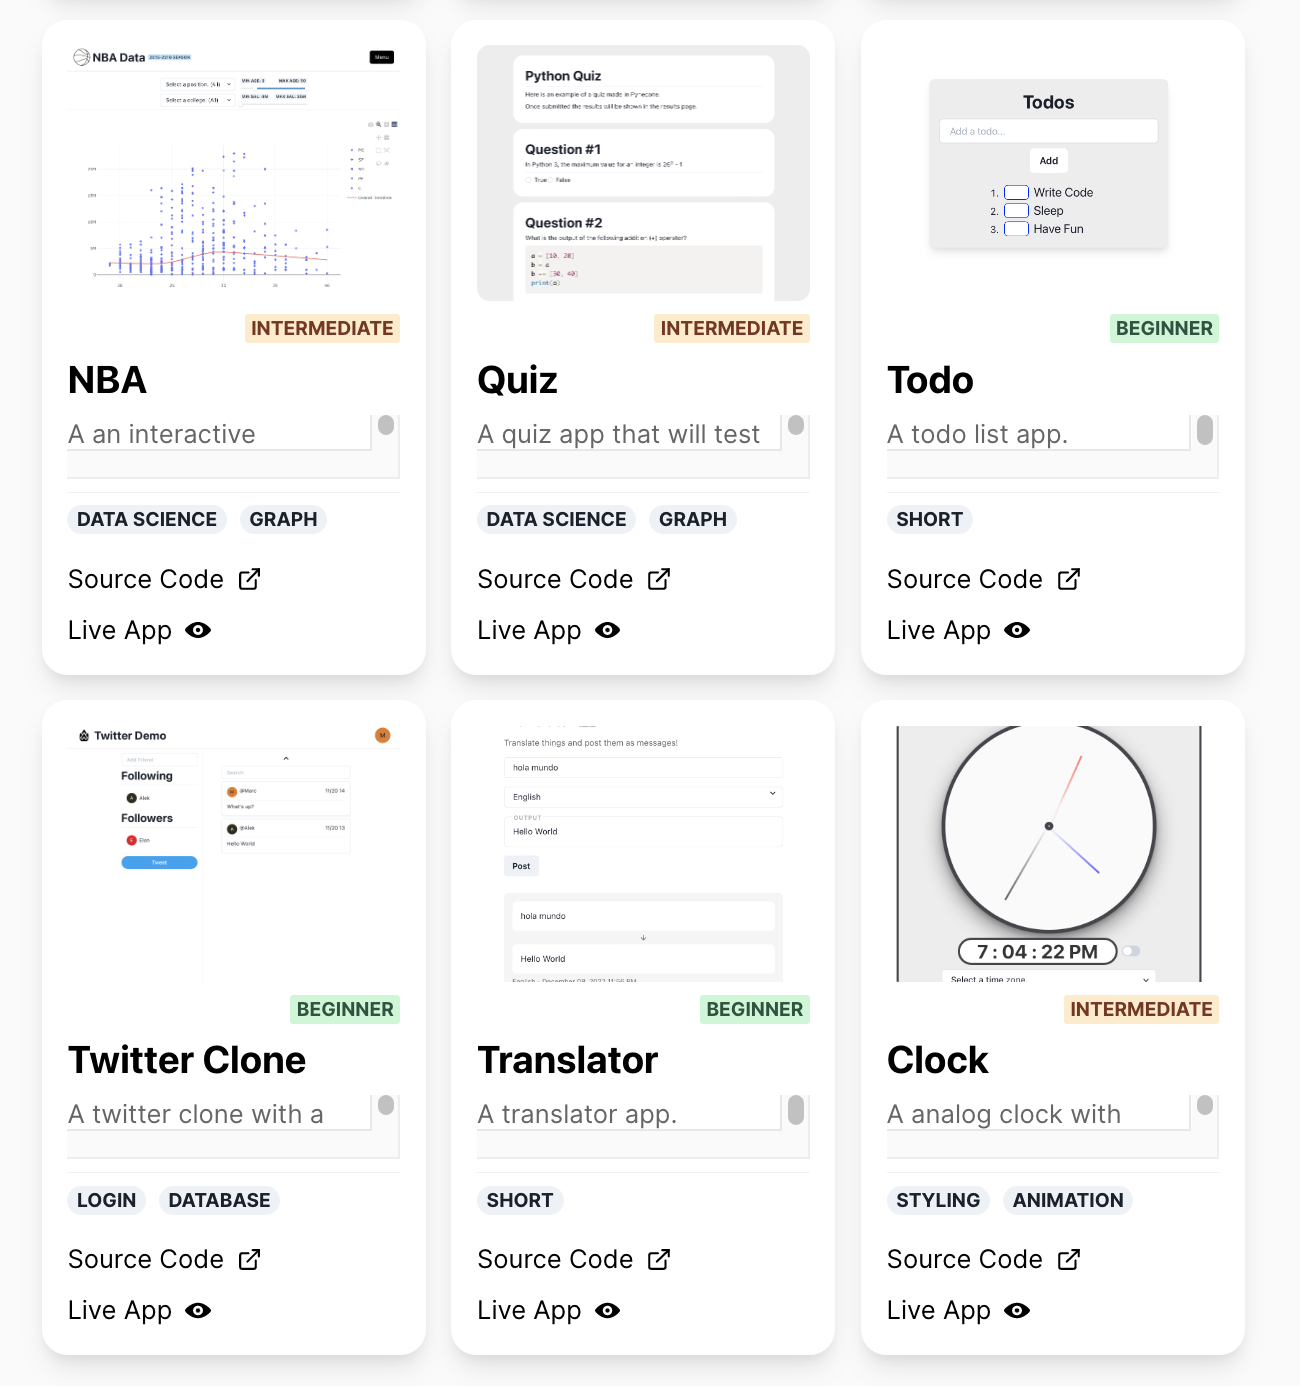
Pynecone Gallery에 보면 시계, Chart, Todo List, GPT 등 많은 예제를 소개하고 있습니다. 그 중에서 OpenAI DALL·E API를 이용하여 이미지를 생성 App을 만들어 보겠습니다. (Example Code는 Github에서 확인 가능합니다.)
1. OpenAI API 키 발급
먼저 OpenAI API를 사용하기 위해 API 키 발급이 필요합니다. 먼저 OpenAI API 사이트로 이동합니다. OpenAI 계정이 필요하며 계정이 없다면 계정 생성이 필요합니다. 간단히 Google이나 Microsoft 계정을 연동 할 수 있습니다. 이미 계정이 있다면 로그인 후 진행하시면 됩니다.
OpenAI API
An API for accessing new AI models developed by OpenAI
platform.openai.com
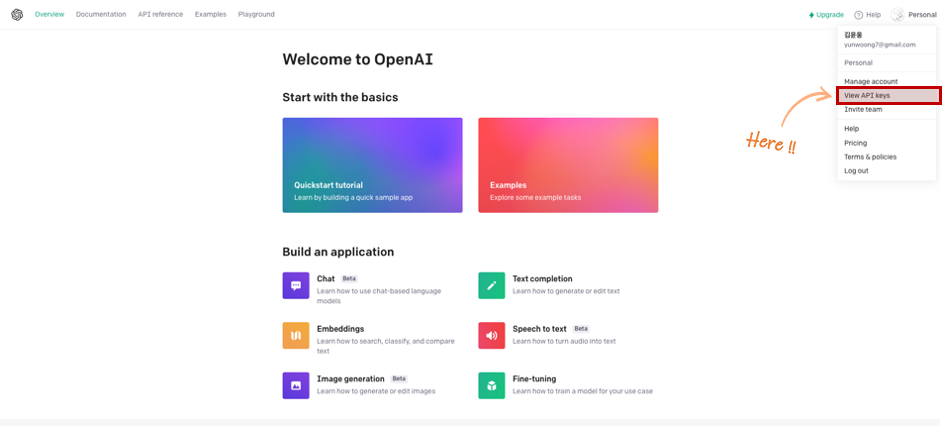
로그인이 되었다면 우측 상단 Personal -> [ View API Keys ] 를 클릭합니다.
[ + Create new secret key ] 를 클릭하여 API Key를 생성합니다. API key generated 창이 활성화되면 Key 를 반드시 복사하여 두시기 바랍니다. 창을 닫으면 다시 확인할 수 없습니다. (만약 복사하지 못했다면 다시 Create new secret key 버튼을 눌러 생성하면 되니 걱정하지 않으셔도 됩니다.)
2. Installation
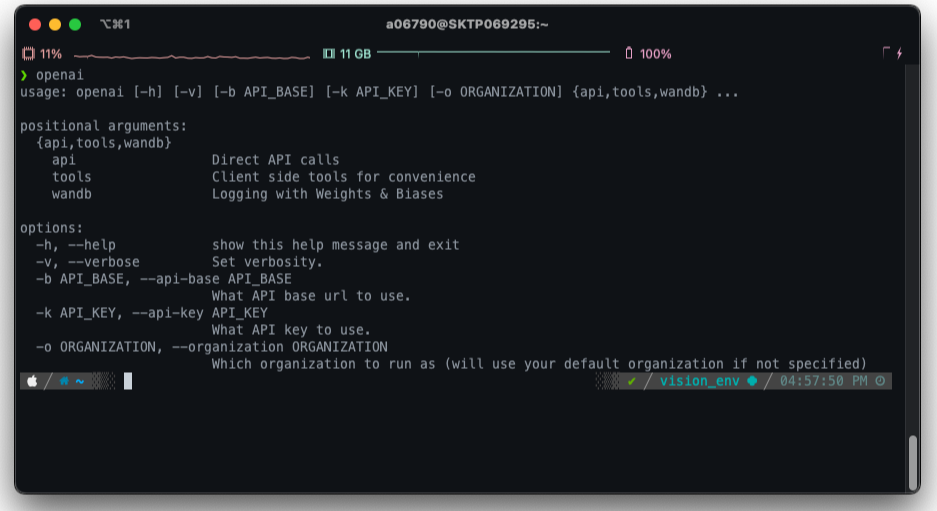
pip install --upgrade openai설치 후 command 창에서 openai 명령어를 입력하면 아래와 같이 출력되어야 정상적으로 설치가 된 것 입니다.
3. Create a Project
dalle 라는 directory를 만들고 dalle.py 파일을 추가했습니다.
getting_started_with_pynecone
├── .web
├── assets
├── getting_started_with_pynecone
│   ├── __init__.py
│   └── getting_started_with_pynecone.py
├── dalle                     # 추가
│   ├── __init__.py           # 추가
│   └── dalle.py              # 추가
└── pcconfig.py
dalle.py 파일을 아래와 같이 수정합니다. openai.api_key 값은 위 OpenAI 에서 발급 받은 API KEY 값으로 입력합니다.
"""Welcome to Pynecone! This file outlines the steps to create a basic app."""
import pynecone as pc
import openai

# OpenAI에서 발급 받은 API KEY를 입력
openai.api_key = "YOUR_API_KEY"


class State(pc.State):
    """The app state."""

    prompt = ""
    image_url = ""
    image_processing = False
    image_made = False

    def process_image(self):
        """Set the image processing flag to true and indicate that the image has not been made yet."""
        self.image_made = False
        self.image_processing = True

    def get_image(self):
        """Get the image from the prompt."""
        try:
            response = openai.Image.create(prompt=self.prompt, n=1, size="1024x1024")
            self.image_url = response["data"][0]["url"]
            # Set the image processing flag to false and indicate that the image has been made.
            self.image_processing = False
            self.image_made = True
        except:
            self.image_processing = False
            return pc.window_alert("Error with OpenAI Execution.")


def index():
    return pc.center(
        pc.vstack(
            pc.heading("Yunwoong's DALL-E", font_size="1.5em"),
            pc.input(placeholder="Enter a prompt..", on_blur=State.set_prompt),
            pc.button(
                "Generate Image",
                on_click=[State.process_image, State.get_image],
                width="100%",
            ),
            pc.divider(),
            pc.cond(
                State.image_processing,
                pc.circular_progress(is_indeterminate=True),
                pc.cond(
                    State.image_made,
                    pc.image(
                        src=State.image_url,
                        height="25em",
                        width="25em",
                    ),
                ),
            ),
            bg="white",
            padding="2em",
            shadow="lg",
            border_radius="lg",
        ),
        width="100%",
        height="100vh",
        background="radial-gradient(circle at 22% 11%,rgba(62, 180, 137,.20),hsla(0,0%,100%,0) 19%),radial-gradient(circle at 82% 25%,rgba(33,150,243,.18),hsla(0,0%,100%,0) 35%),radial-gradient(circle at 25% 61%,rgba(250, 128, 114, .28),hsla(0,0%,100%,0) 55%)",
    )


# Add state and page to the app.
app = pc.App(state=State)
app.add_page(index, title="Pynecone:DALL-E")
app.compile()
4. Config
pcconfig.py의 app_name을 수정합니다.
import pynecone as pc

config = pc.Config(
    app_name="dalle",
    db_url="sqlite:///pynecone.db",
    env=pc.Env.DEV,
)
5. Run the App
app을 실행해 보도록 하겠습니다. 브라우저 주소창에 http://localhost:3000를 입력 후 페이지 결과를 확인합니다.
$ pc run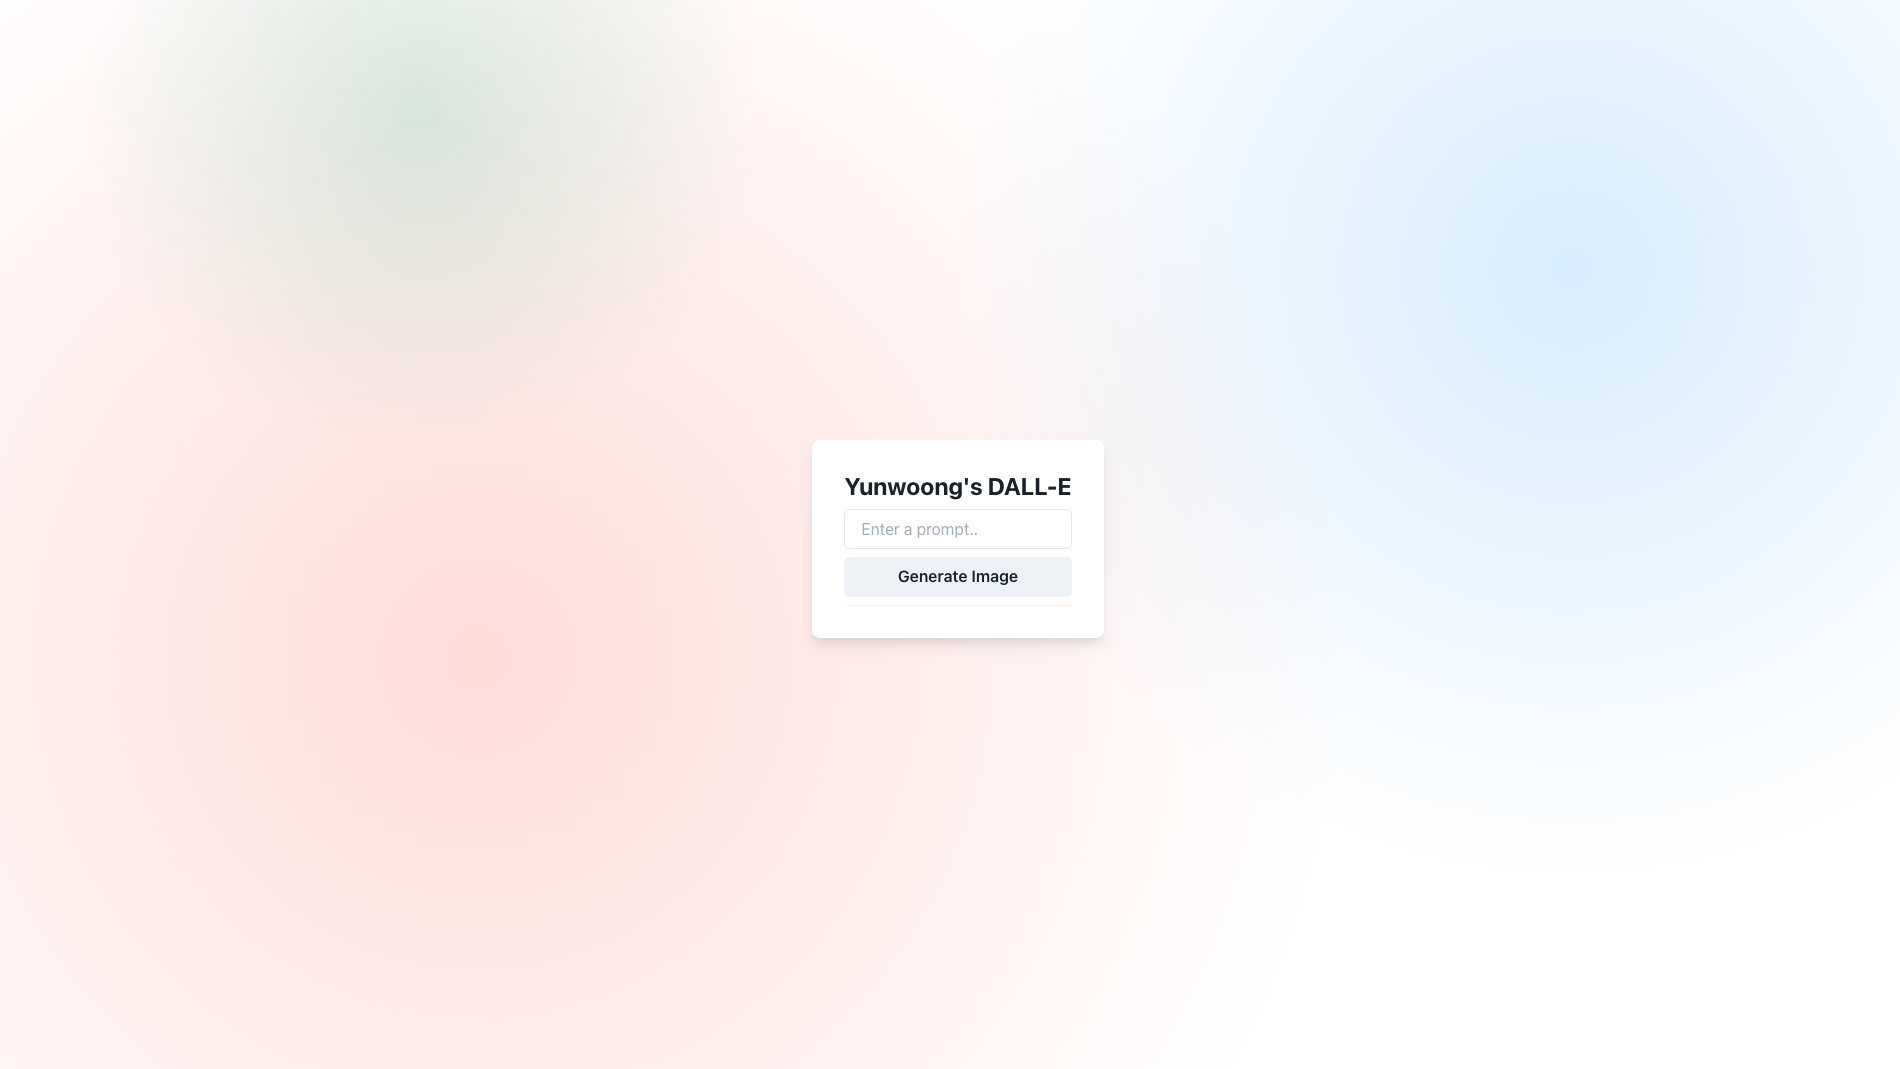
Prompt를 입력하여 결과를 확인합니다. (테스트 문구 : 3D render of a cute tropical fish in an aquarium on a dark blue background, digital art)
'Tech & Development > AI' 카테고리의 다른 글
| PandasAI: 데이터 분석을 위한 대화형 AI 도구 (0) | 2023.05.25 |
|---|---|
| [ Pynecone ] ChatGPT App 만들기 (Python) (0) | 2023.03.28 |
| [ Python ] 미디어파이프(Mediapipe)를 이용한 가상 마우스 (4) | 2023.01.31 |
| Fine tuning GPT3 Model (0) | 2023.01.04 |
| Object Detection 정리 (History) (0) | 2022.12.14 |